
Effective images bring your website to life and enhance your written content. Using high-quality and correctly sized images of faculty, staff and administration is especially important, since photos put names to faces and welcome visitors to your site.
To take a professional headshot, visit the Professional Headshot Booth at the Center for Career Services.
Drupal Photo Dimensions
Any image uploaded to a Columbian College Drupal website should meet quality and size requirements. CCAS websites use standard horizontal and vertical dimensions to maintain a uniform look across all sites. Before uploading photos to your site, it is important that you resize them to the exact dimensions listed in this section.

1080×1080 px
For headshots on the main People page or Contact Us page. Example: See the Department of Geography’s People page.

720×1080 px
For headshots on individual Person pages

1080×720 px
For all other images, such as main images, and promos
Tips for Photo Resizing
We recommend using Adobe Photoshop or Canva for photo editing and resizing.
Adobe Photoshop
- If you are comfortable with Photoshop, feel free to use the platform. Make sure your image is not stretched, squeezed or otherwise distorted while resizing.
- When exporting your image from Photoshop, make sure you set your file type as “JPG” and scale the quality down to 8 to ensure the image does not exceed 1 MB.
Canva
- Free web-based platform
- If you are not comfortable using Photoshop, Canva is a simple way to resize your photos with little training.
- Follow the step-by-step instructions for navigating image resizing in Canva.
Resizing Photos with Canva
Prepare your images.
- Make sure the images you’re resizing have the highest possible resolutions you can find. Ideally, your pre-sized image should be larger than 1080 pixels wide by 720 pixels tall.
- Save all the images in a folder on your computer. Make sure you remember the location of this folder before opening Canva.
Register and sign in to Canva.
- Go to the Canva website. On the top right-hand corner of the screen, click “Sign up.”
- You will have the option to sign up with either your Google account, Facebook account or another email account. Select an option.
- If you choose to sign up with a Google or Facebook account, you will be asked to sign into your account.
- If you sign up with an email address, you will be asked to enter your name and select a password.
- Once you’re successfully signed up, you will be automatically logged in to Canva. If you sign out of your account, you can log back in using the “Log in” button at the top right corner, next to the “Sign up” button.
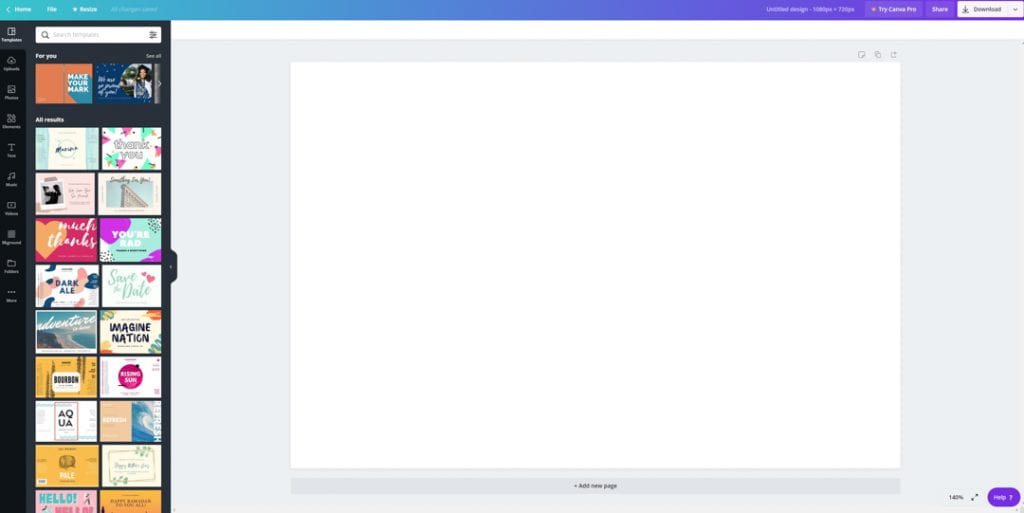
- From the Canva homepage, click “Create a design” on the top right-hand corner of your screen, then select “Use custom dimension.” On the popup panel, type your horizontal and vertical dimensions respectively (for example, 1080 and 720), then click “Create new design.”

- A white canvas will appear on the right side of your screen. This is the main area where you will resize your image.
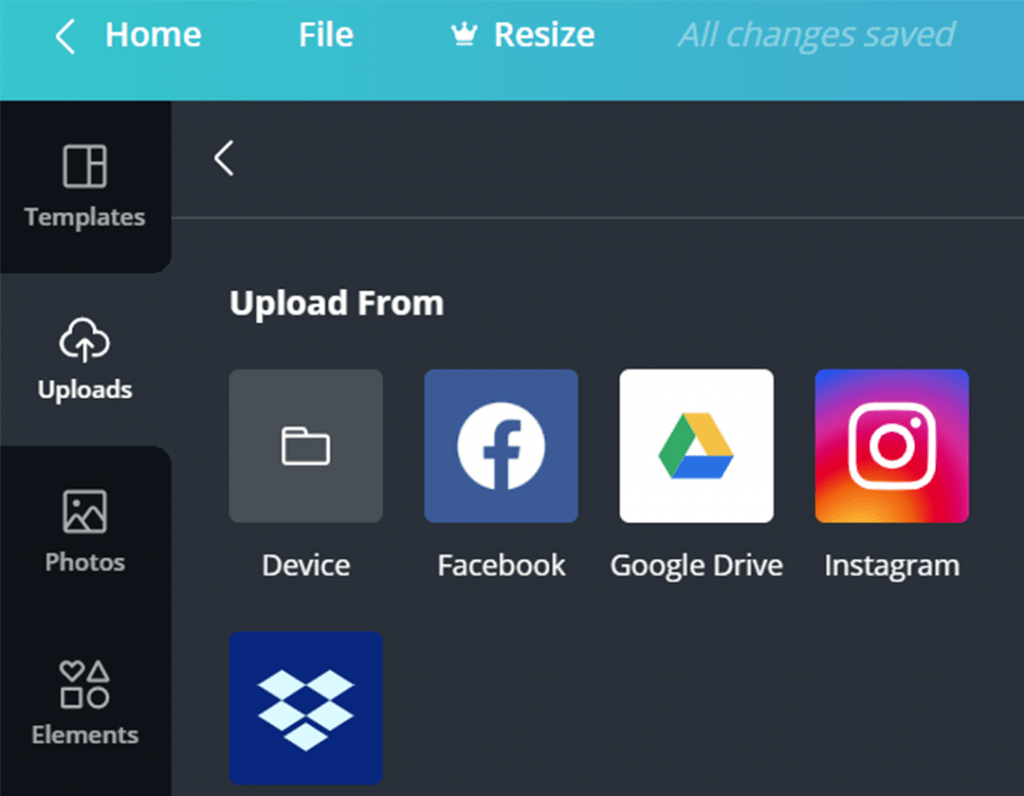
- On the far left side of your screen, there is as vertical sidebar with options to choose the image you wish to resize. Select “Uploads,” which should be the second icon from the top.
- In the “Upload From” menu, select “Device.” You will then be able to select images from your computer folder.
- Once your image has been uploaded to Canva, it will appear on the left side of your screen. Drag and drop your image onto the blank canvas. Hit “Enter” on your keyboard to place the image on the canvas.
- After your image has been placed on the canvas, double-click on it to enable the image reposition/resize tool.
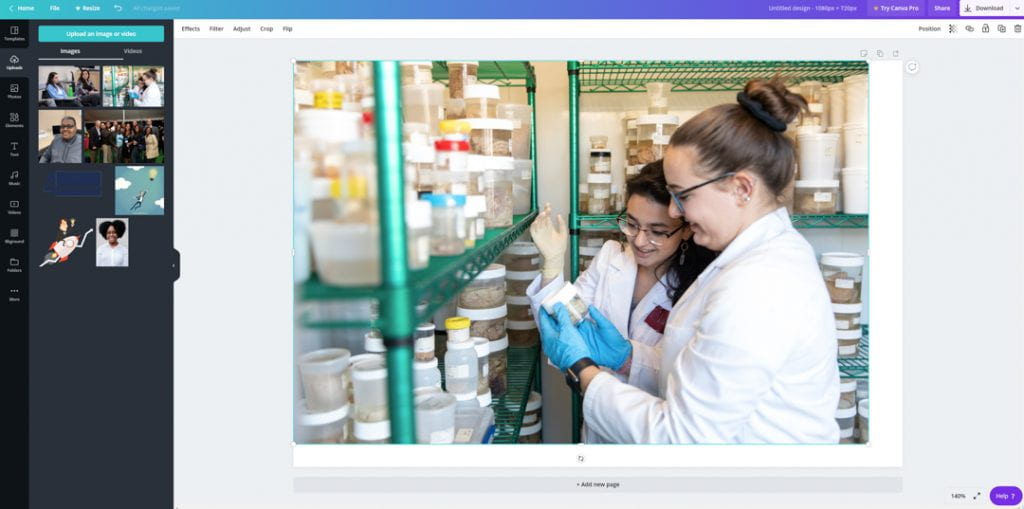
- Move the image with your mouse cursor to reposition it, or drag the corner to expand/collapse the image.
- As you reposition and resize your image, make sure that the image covers the entire canvas.
- Additionally, you should check to make sure the image is well-positioned within the canvas and no important part of the image is cut off. For example, if the image is a headshot, make sure part of the head is not cut off.
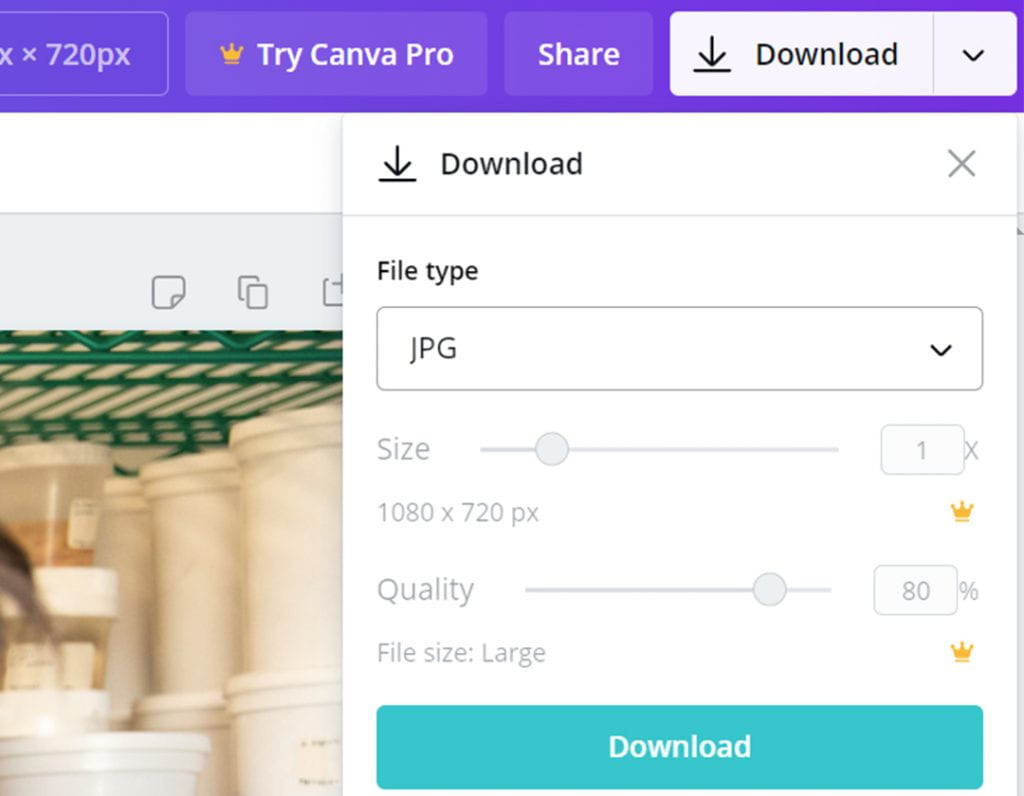
- Once your image has been properly sized and cropped, click “Download” at the top right corner. Select “File type” as “JPG,” leave “Size” as-is and drag the “Quality” scale to 80 percent. This will reduce the file size of your image.
- Click the “Download” button. The image file will be downloaded to your computer.
- Your downloaded image should now be properly resized and meet our web sizing standards. Use this image on your Drupal website.
Looking for more Drupal guidance? Check out our CCAS Guidelines for Drupal Users
